Oven Drying
Ancient, easy technique helps summer bounty last all year
Grapes turn to raisins, dates turn to candy and the juiciest of beef sirloin turns to the savory-est of snacks, beef jerky. All with the help of Mother Nature … or your oven. Drying is one of the oldest methods of preserving food. Traditionally done by the heat of the sun, drying removes moisture from the ingredient, intensifying the flavor and preventing spoilage.
America’s earliest inhabitants dried native foods such as corn, apple slices, currants, grapes and meat. There is no need to invest in a costly dehydrator, for the tools you need are readily at hand: the sun or, more conveniently, your oven.
While setting a tray of freshly harvested produce in the sun will undoubtedly suffice, there are other factors to deal with: think bugs, temperature control and good old Oklahoma wind and humidity. Switch on your oven to the lowest temperature, however, and oven- dried foods will be ready in a matter of hours.
Along with a renewed interest in home gardening and a record high number of farmers’ markets, home preservation is becoming popular again. During the summer months when produce and other local ingredients are at their peak, one might turn to canning or pickling for preservation. Oven drying, however, takes much less equipment and the resulting product takes up significantly less storage space in the pantry or refrigerator.
Oven drying is not difficult, but it does take a bit of time. Here are a few simple guidelines to follow for the best results.
Speed
For the best result, prepare fruits and vegetables as soon as possible after harvesting. They should be cleaned of any dirt, dried with paper towels, sliced and laid out to dry without much delay.
Oven drying takes several hours when done correctly. Don’t rush the outcome, or you may end up with a tray of burnt vegetables.
Do your best not to interrupt the drying process—once you start, don’t stop and let the product cool down in order to start drying again later. Mold and other organisms can grow on partly dried food, leading to spoilage. Plan ahead or leave your oven on at the lowest setting overnight.
Temperature
During the first part of the drying process, the air temperature can be relatively high (up to 200°), so that moisture can evaporate quickly from the food. As soon as surface moisture is lost (the outside begins to feel dry) and the rate of evaporation slows down, the temperature should be reduced to a low setting (140° to 160°). What you are looking for is a temperature high enough to evaporate moisture from the food, but not high enough to cook it. Toward the end of the drying process the food can scorch easily, so you must watch it carefully.
Uniformity
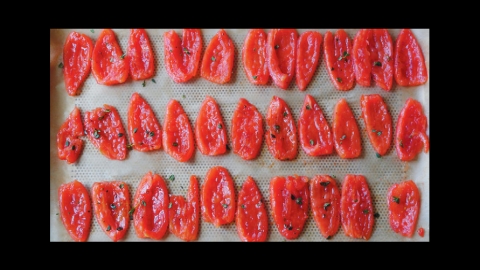
Drying food evenly takes a tiny bit of effort and attention. Make sure the pieces of food are cut into uniform pieces, otherwise the smaller pieces will be dried before larger ones. Rotate pans in your oven during cooking, for most ovens have hot and cool spots. For the best results, spread thin layers of uniformly sized pieces of food on baking sheets, using more than one sheet if necessary.
Experimentation
The drying process is simply not as precise as canning and freezing because it involves so many different factors. You may need to use a trial-and-error approach to find what works best, for both method and flavor combinations.
Keep in mind that the flavor of dried fruits and vegetables will be somewhat different from that of their fresh, canned or frozen counterparts.
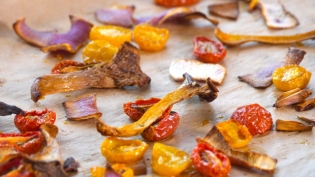
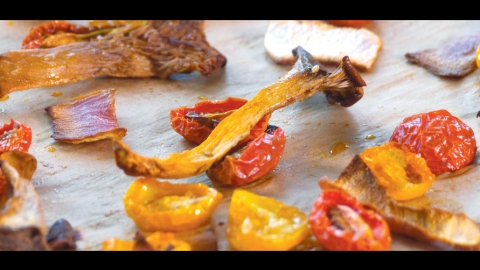
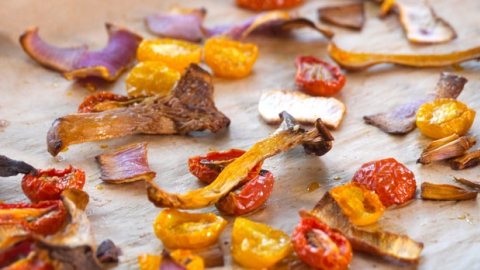
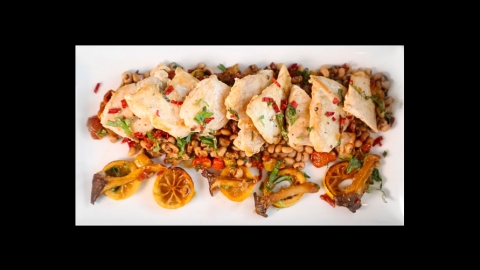
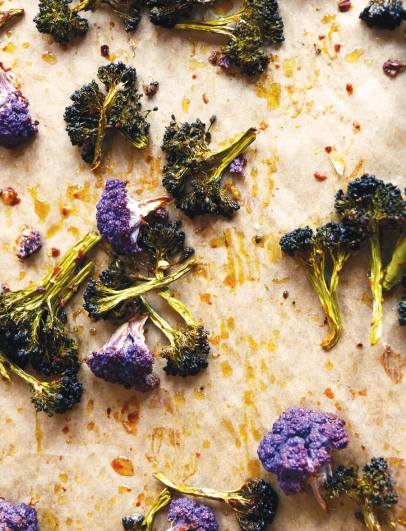
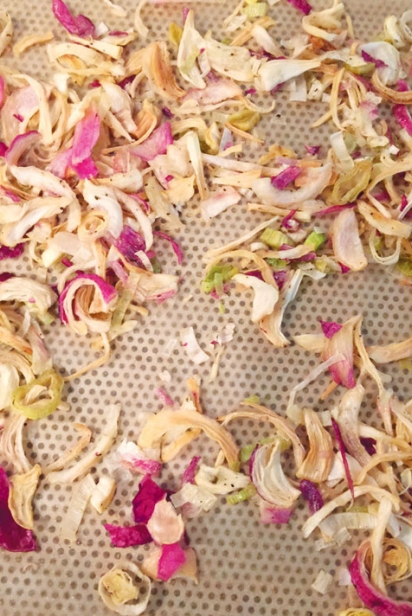
Smart for your Heart - Oven Dried Vegetables
Oven-drying vegetables is not just a great way to preserve peak season produce, it’s a way to intensify flavors....
Communities Near You


Related Stories & Recipes